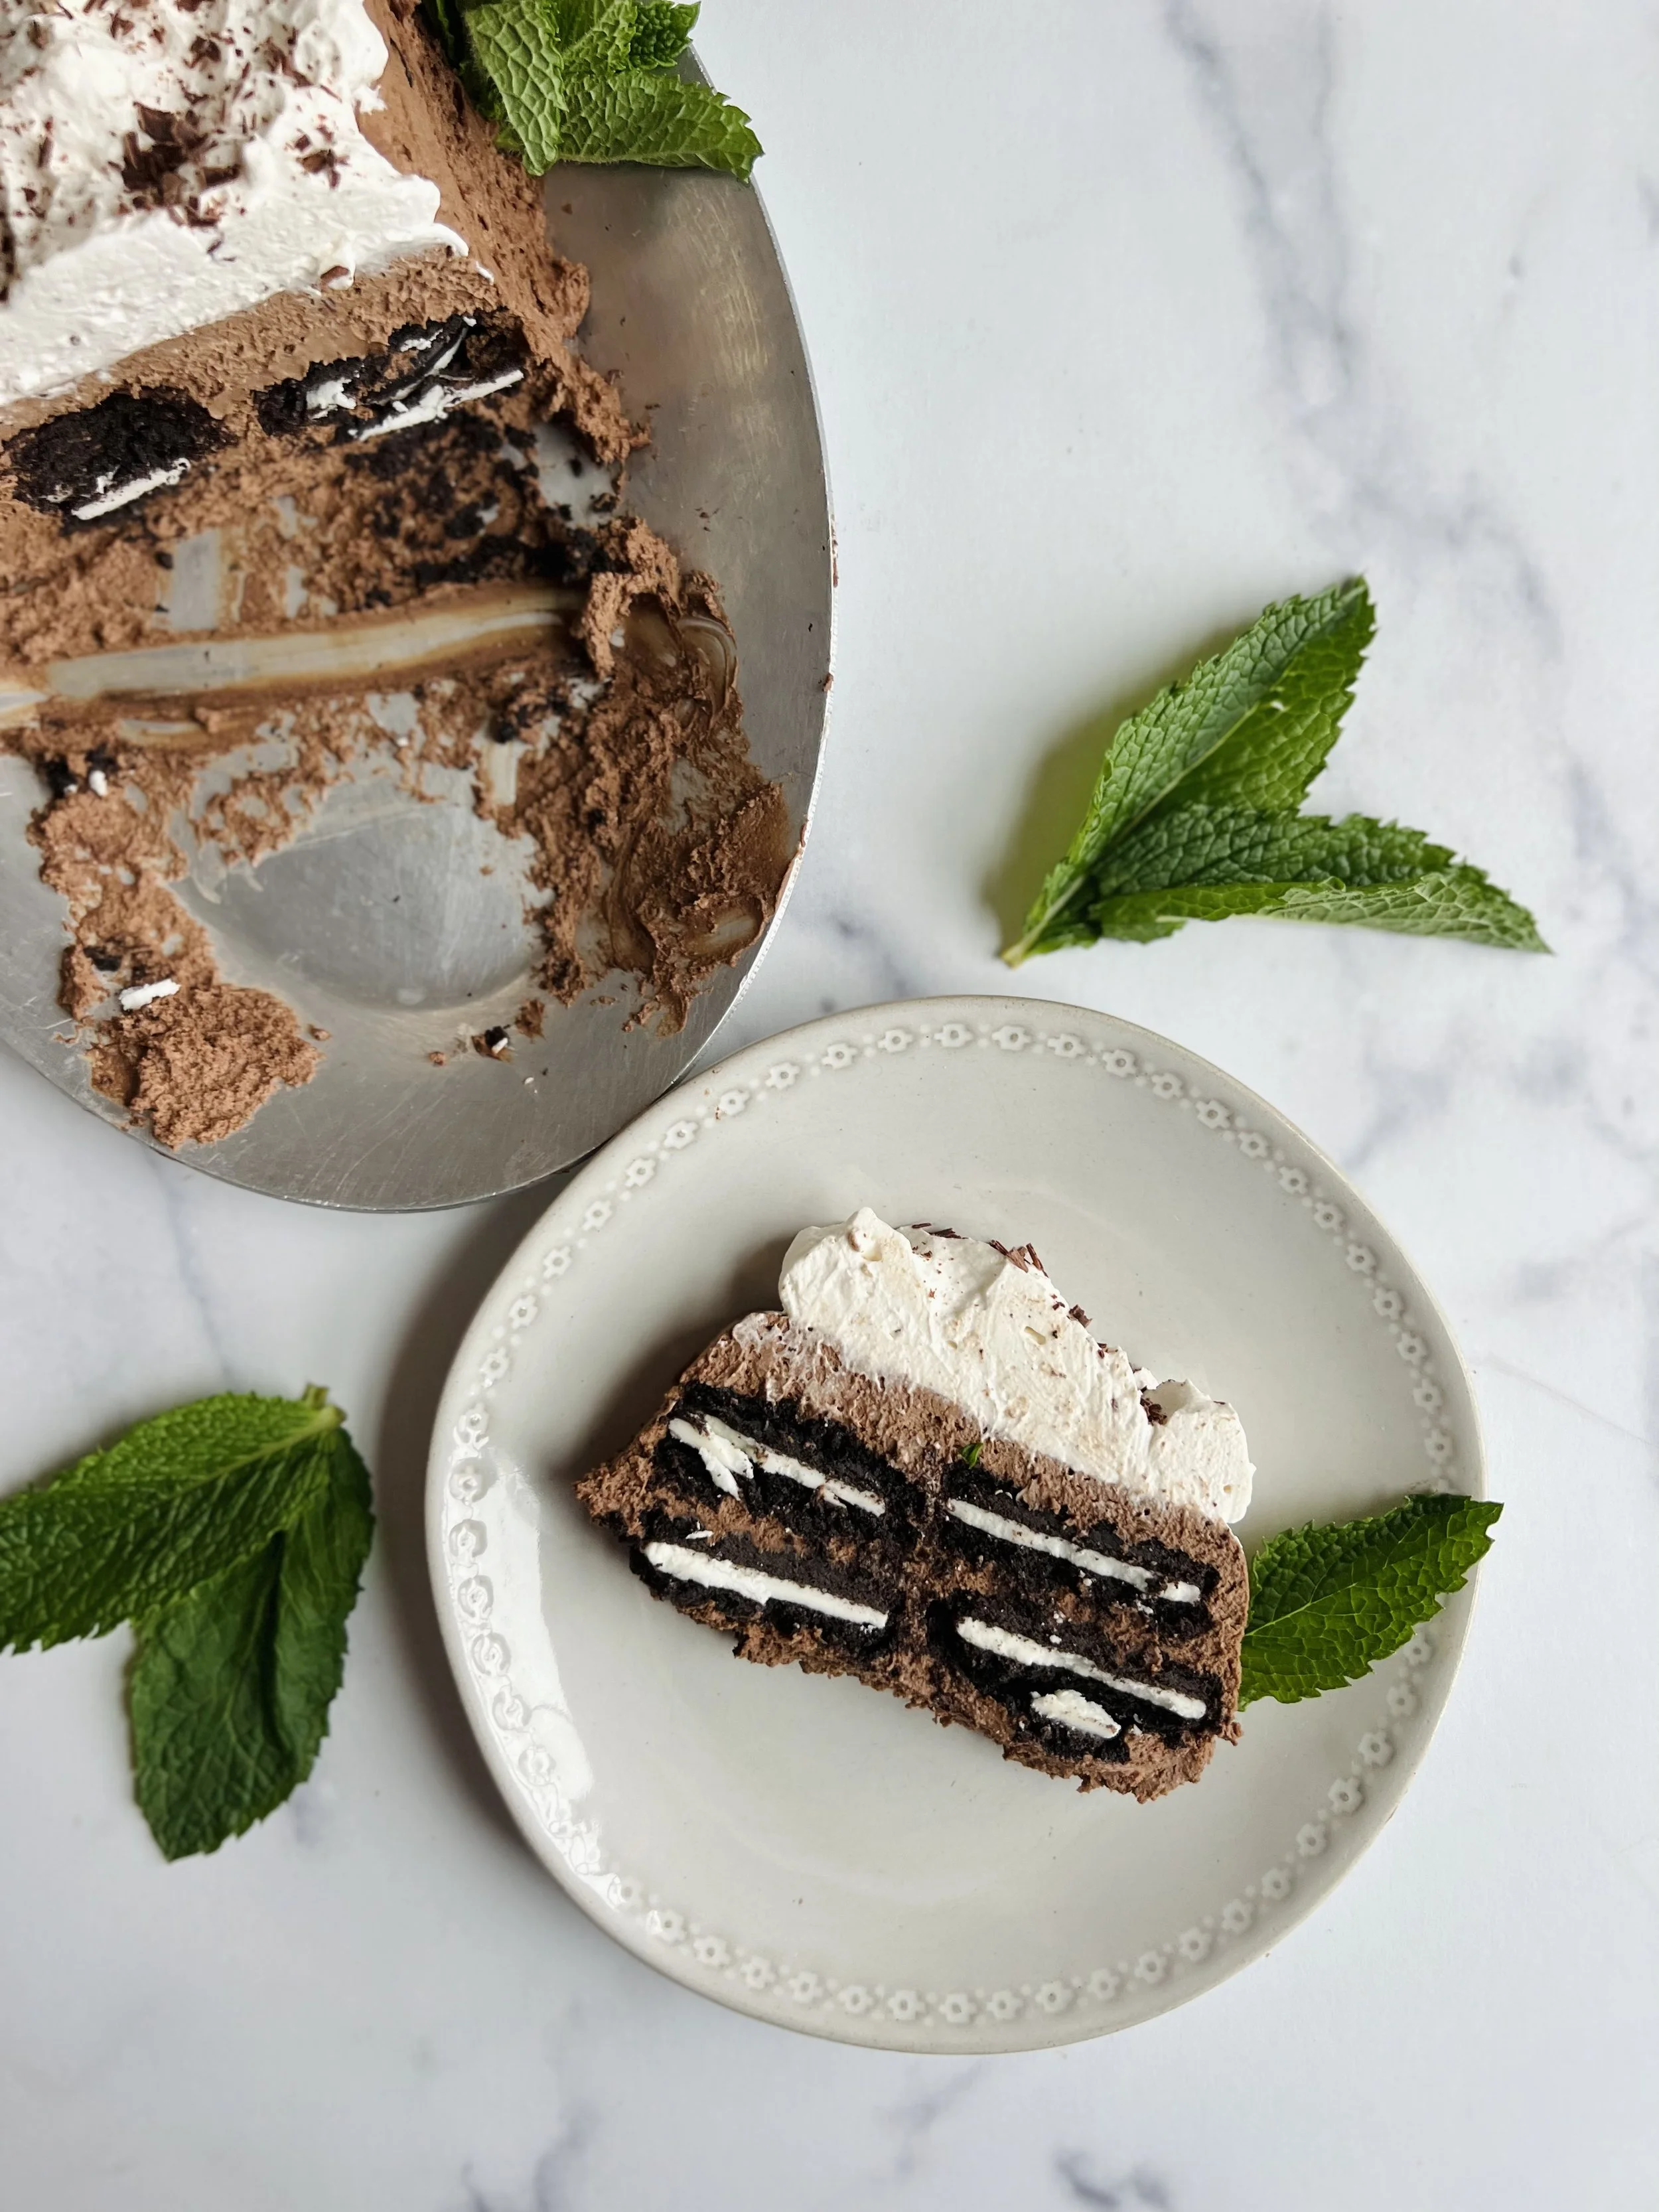
Peppermint Hot Chocolate Icebox Cake
A new take on an old classic.
We made it easy to whip up an impressive dessert for the holidays.
Inspired by the classic icebox cake, our holiday version features our Limited Batch Peppermint Hot Chocolate. If you’re into mint and chocolate, you will love this cake! The slices we shared with friends while developing the recipe were met with rave reviews.
One great thing about this cake is that it can be adapted for most dietary needs/preferences. See the recipe notes below for suggestions.
As an added bonus (especially during holiday busyness!), it is very simple to make and calls for just 5 ingredients! Plan ahead, however, because the cake needs to sit up in the fridge for 12 hours or more to ensure the cookies soften a bit before slicing.
Recipe Notes:
For a vegan or dairy free version, use coconut cream instead of whipping cream. Here’s instructions for a vegan coconut whipped cream. If making for this recipe, essentially just sub coconut cream for whipping cream.
For gluten free or processed sugar free options, find chocolate sandwich cookies or wafer cookies that fit your needs, like these Simple Mills Chocolate Brownie Thins.
Serves 12
Ingredients:
Chocolate Whipped Cream :
1 C ALKAME CO Peppermint Hot Chocolate
2 C whipping cream
1/4 C maple syrup
1 package Oreo-style chocolate sandwich cookies or chocolate wafer cookies
Whipped Cream Top:
3/4 C whipping cream
1 tsp vanilla extract
2 tsp maple syrup
Optional Garnish:
-Shaved chocolate, cacao nibs or crumbled chocolate wafer cookies
-Fresh mint sprigs
Directions:
Add whipping cream to a large, chilled bowl and beat on high until soft peaks begin to form.
Add half of the Peppermint Hot Chocolate and maple syrup to the bowl and whisk briefly—on low for a few seconds, before switching to high—until mostly incorporated.
Scrape down the sides of the bowl and whisk attachment, then add remaining Peppermint Hot Chocolate and maple syrup. Whisk again on high until just barely incorporated—stopping to scrape down the bowl and whisk if needed.
Line a loaf pan with plastic wrap. To help adhere the wrap and make filling easier, dab the chocolate whipped cream mixture in a few places on the sides and bottom of the loaf pan before pressing the plastic wrap in.
Using the back of a spoon or a rubber spatula, spread a thin layer (~ .5 inch) of the chocolate whipped cream mixture into the loaf pan.
Press chocolate sandwich cookies flat into the chocolate whipped cream layer, nestling them close to each other to fit as many as possible into the layer. You should be able to fit eight, in a 2x4 configuration. Then cover with another layer of chocolate whipped cream, press in another layer of cookies and finally top with a final chocolate whipped cream layer.
Cover the loaf pan with plastic wrap, gently pressing it directly onto the cake to prevent it from drying out. Refrigerate 12-16 hours (can refrigerate for up to 24 hours, but I find the cookies to get too soft for my liking if they sit for much longer than that).
Remove from loaf pan, inverting onto your serving plate of choice. Place in the freezer.
Make the top whipped cream layer by whipping the remaining whipped cream, maple syrup and vanilla extract in a chilled bowl on high until stiff peaks are just reached.
Top the cake with a layer of whipped cream. We think rustic looks best, so don’t worry about smoothing! You can use the back of a spoon or a rubber spatula to pat the whipped cream—forming mini peaks when lifted. Top with dark chocolate shavings, cacao nibs or crumbled chocolate cookies and tuck a few mint sprigs into the base of the cake if desired.
Cut with a warm, dry knife while cake is very cold to get crisp visual lines of layers.

